使用SSH访问Ubuntu服务器
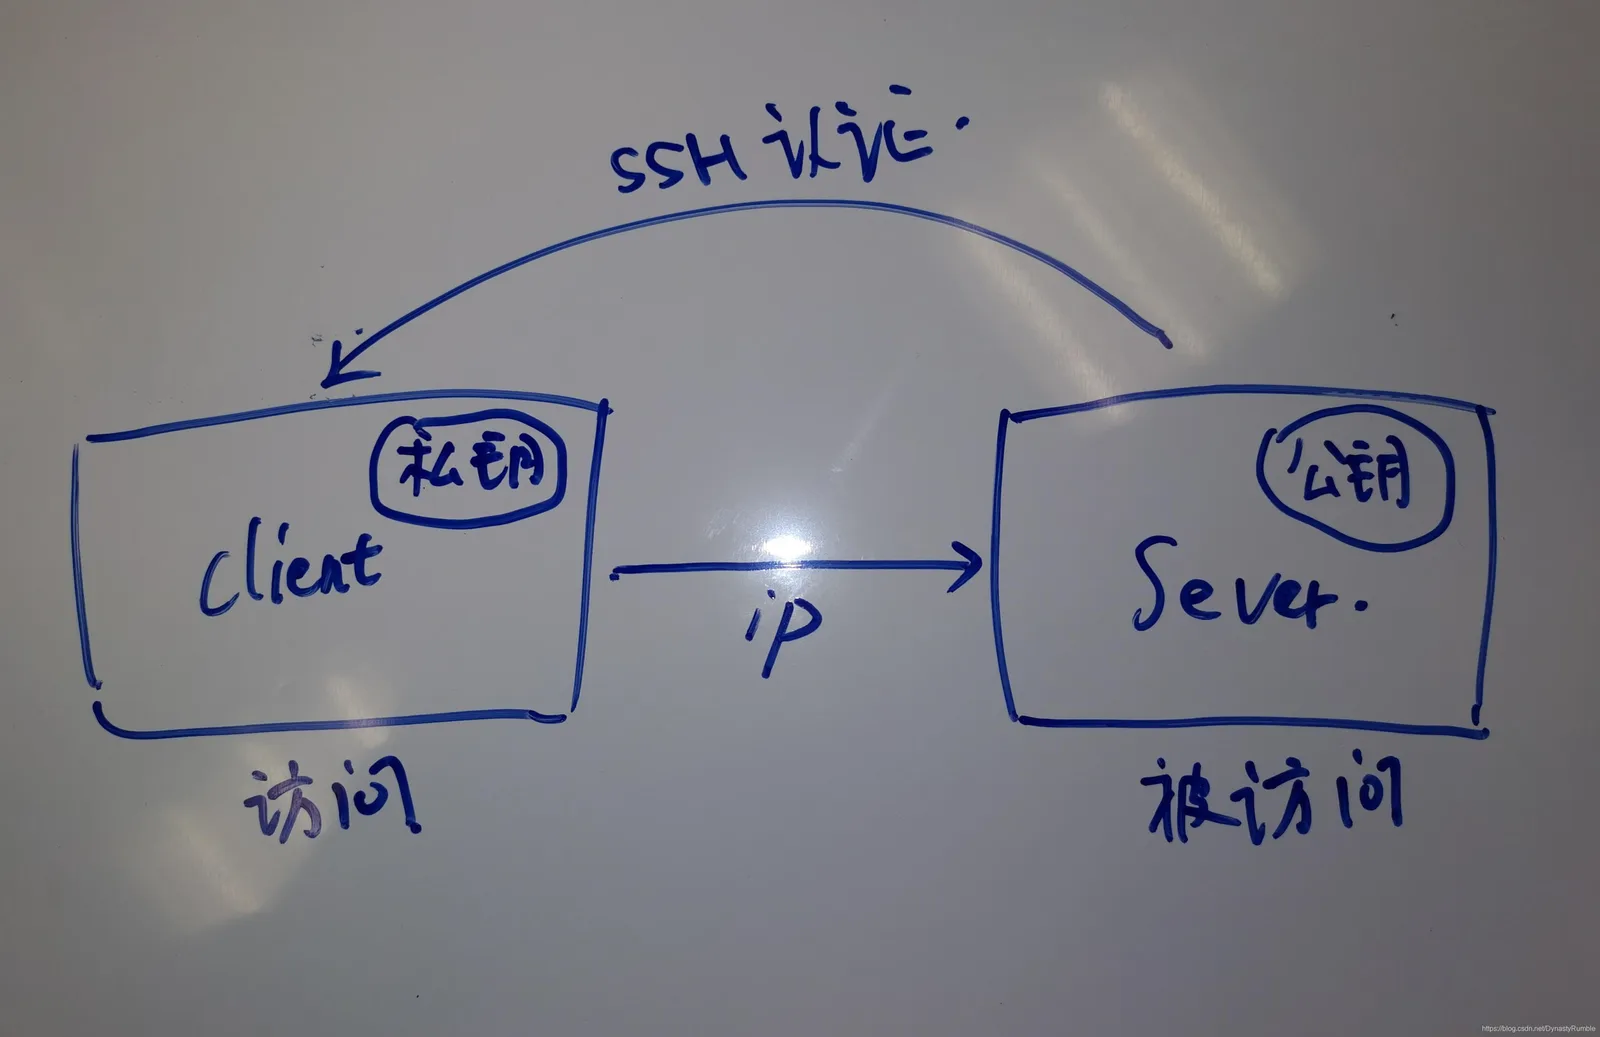
SSH访问的原理很简单,如图所示。被访问的机器称作Server,访问的机器称作Client,Client通过ip连接至Server,Server需要验证Client的私钥,若认证成功则可以访问,否则不能访问。最重要的两点是

一、SSH访问原理
SSH访问的原理很简单,如图所示。被访问的机器称作Server,访问的机器称作Client,Client通过ip连接至Server,Server需要验证Client的私钥,若认证成功则可以访问,否则不能访问。最重要的两点是
- 测试IP能否正常访问
- 配置SSH
这里我的测试环境如下
- Client - Windows10
- Server - Ubuntu 20.04
二、测试IP能否正常访问
Windows 获取ip
ipconfig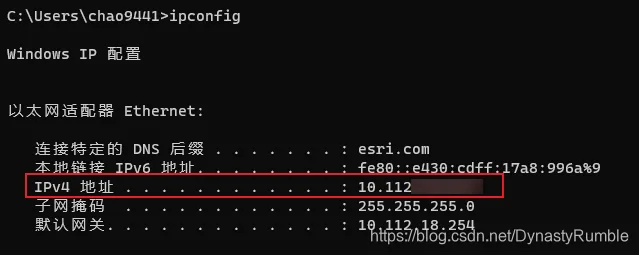
Ubuntu获取ip
# 安装网络工具
apt insatll net-tools

ifconfig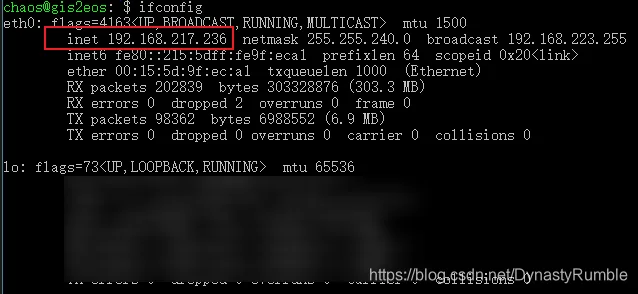
上述红框中就是获取到的ip地址了
Client连接Server测试,若成功会显示已ping通
ping <server-ip>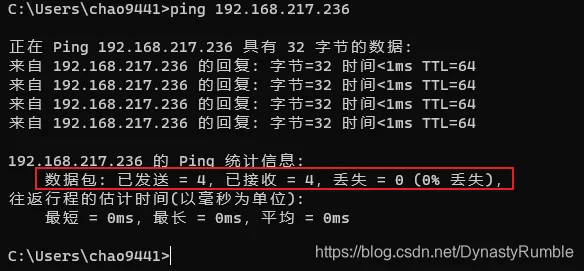
Server连接Client测试,若成功会显示已ping通
ping client-ip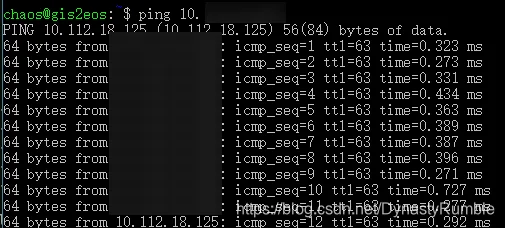
只有双向的网络都没问题,之后才能配置SSH服务
三、配置SSH
配置SSH具体包括以下几个方面的内容
- 配置SSH Client和SSH Server
- 配置SSH私钥和公钥
- 用户名密码访问和直接访问
1. 配置SSH Client和SSH Server
配置SSH Client和SSH Server。 这里使用OpenSSH工具来配置SSH,我们需要在win10上配置 SSH Client,在Ubuntu上配置SSH Server
Win10配置SSH Client
- 下载软件包 https://github.com/PowerShell/Win32-OpenSSH/releases
- 将目录加入PATH变量
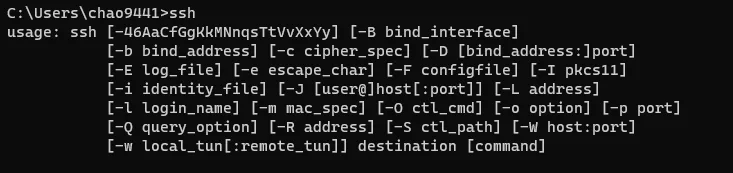
- 测试
Ubuntu配置SSH Server
-
更新apt,安装openssh-server
sudo apt update sudo apt install openssh-server -
启动服务
# 查看安装的服务
dpkg -l | grep ssh

# 是否启动
ps -e | grep ssh

# 重启服务
sudo /etc/init.d/ssh stop
sudo /etc/init.d/ssh start
2. 配置SSH私钥和公钥
关于如何生成公钥和私钥这里不做赘述,可以参考这篇文章https://blog.csdn.net/DynastyRumble/article/details/118409367
在Win10机器上假设我们已经配好了公钥私钥,目录位于 C:\Users\chao9441.ssh\,这时直接拷贝公钥id_rsa.pub到Ubuntu上,目录位于 /home/<username>/.ssh/, 如果没有.ssh目录则新建,这里把<username>替换成你自己机器的名字,这点很重要因为我们连接时需要输入用户名,默认Ubuntu就会相应地到这个的.ssh目录下找认证文件进行验证,如果位置错误的话则会失败
ssh <username>@<ip>将公钥id_rsa.pub内容追加输出到authorized_keys文件中。这里的逻辑是,一旦Ubuntu接受到外部的SSH访问请求,就会通过authorized_keys文件验证访问机器,访问机器可以有很多,写在一个认证文件统一管理
sudo cat >> .ssh/authorized_keys' < ~/.ssh/id_rsa.pub3. 用户名密码访问和公钥访问
另外还需要修改Ubuntu的SSH认证方式,SSH认证其实有两种,一种是通过用户名密码访问(虽然很不SSH,也算某种意义上的“公钥私钥“吧),另一种就是公钥私钥验证。 我们需要修改Ubuntu系统层面的SSH认证配置,修改/etc/ssh/ssh.config文件, 允许取消 PasswordAuthentication yes的注释允许用户名密码访问
# This is the ssh client system-wide configuration file.  See
# ssh_config(5) for more information.  This file provides defaults for
# users, and the values can be changed in per-user configuration files
# or on the command line.

# Configuration data is parsed as follows:
#  1. command line options
#  2. user-specific file
#  3. system-wide file
# Any configuration value is only changed the first time it is set.
# Thus, host-specific definitions should be at the beginning of the
# configuration file, and defaults at the end.

# Site-wide defaults for some commonly used options.  For a comprehensive
# list of available options, their meanings and defaults, please see the
# ssh_config(5) man page.

Include /etc/ssh/ssh_config.d/*.conf

Host *
#   ForwardAgent no
#   ForwardX11 no
#   ForwardX11Trusted yes
    PasswordAuthentication yes
#   HostbasedAuthentication no
#   GSSAPIAuthentication no
#   GSSAPIDelegateCredentials no
#   GSSAPIKeyExchange no
#   GSSAPITrustDNS no
#   BatchMode no
#   CheckHostIP yes
#   AddressFamily any
#   ConnectTimeout 0
#   StrictHostKeyChecking ask
#   IdentityFile ~/.ssh/id_rsa
#   IdentityFile ~/.ssh/id_dsa
#   IdentityFile ~/.ssh/id_ecdsa
#   IdentityFile ~/.ssh/id_ed25519
#   Port 22
#   Ciphers aes128-ctr,aes192-ctr,aes256-ctr,aes128-cbc,3des-cbc
#   MACs hmac-md5,hmac-sha1,umac-64@openssh.com
#   EscapeChar ~
#   Tunnel no
#   TunnelDevice any:any
#   PermitLocalCommand no
#   VisualHostKey no
#   ProxyCommand ssh -q -W %h:%p gateway.example.com
#   RekeyLimit 1G 1h
    SendEnv LANG LC_*
    HashKnownHosts yes
    GSSAPIAuthentication yes
重启Server的SSH服务
# 重启服务
sudo /etc/init.d/ssh stop
sudo /etc/init.d/ssh start
即使是没有配置SSH,第一次连接Server时候还是可以通过用户名密码登录的,但是一旦输入错误后面就登入不进去,这里我们不是很推荐这种方式,还是SSH访问比较安全便捷
测试效果。 需要先删除Client机器上的known_hosts,在Clien机器上输入以下命令连接Server,中间的过程选择Yes
# <username>, <server-ip>在之前步骤都可以获取到

# 方式一
ssh <username>@<server-ip>

# 方式二
ssh -l <username> <server-ip>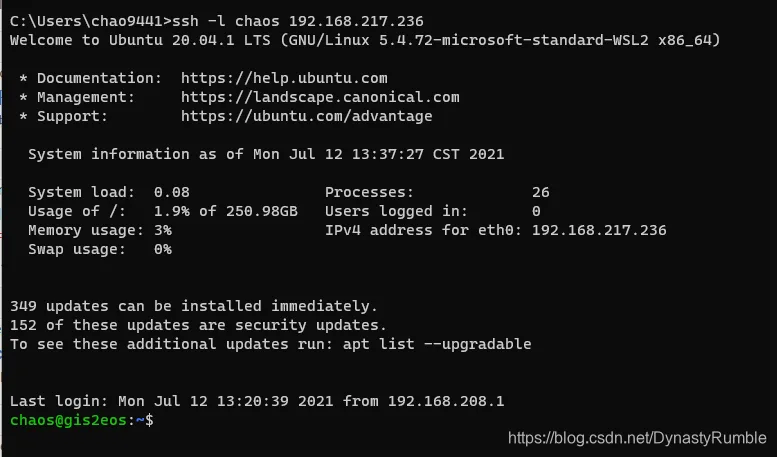
四、 参考资料
感谢以下的参考资料,努力学习吧😄
https://jingwei.link/2018/12/08/ssh-login-style.html#用户名密码登录
https://www.ruanyifeng.com/blog/2011/12/ssh_remote_login.html
https://blog.csdn.net/k_young1997/article/details/90314229
https://blog.csdn.net/swordsm/article/details/107948497